


Support
AduroSmart ERIA products are designed for simplicity and ease of use, but we understand that questions may come up. We’ve compiled answers to common questions here, and our dedicated customer support team is always ready to assist if you need further help.


Frequently Asked Questions
We’ve compiled answers to the most common questions here, and our Customer Support team is always ready to assist if you need additional help.
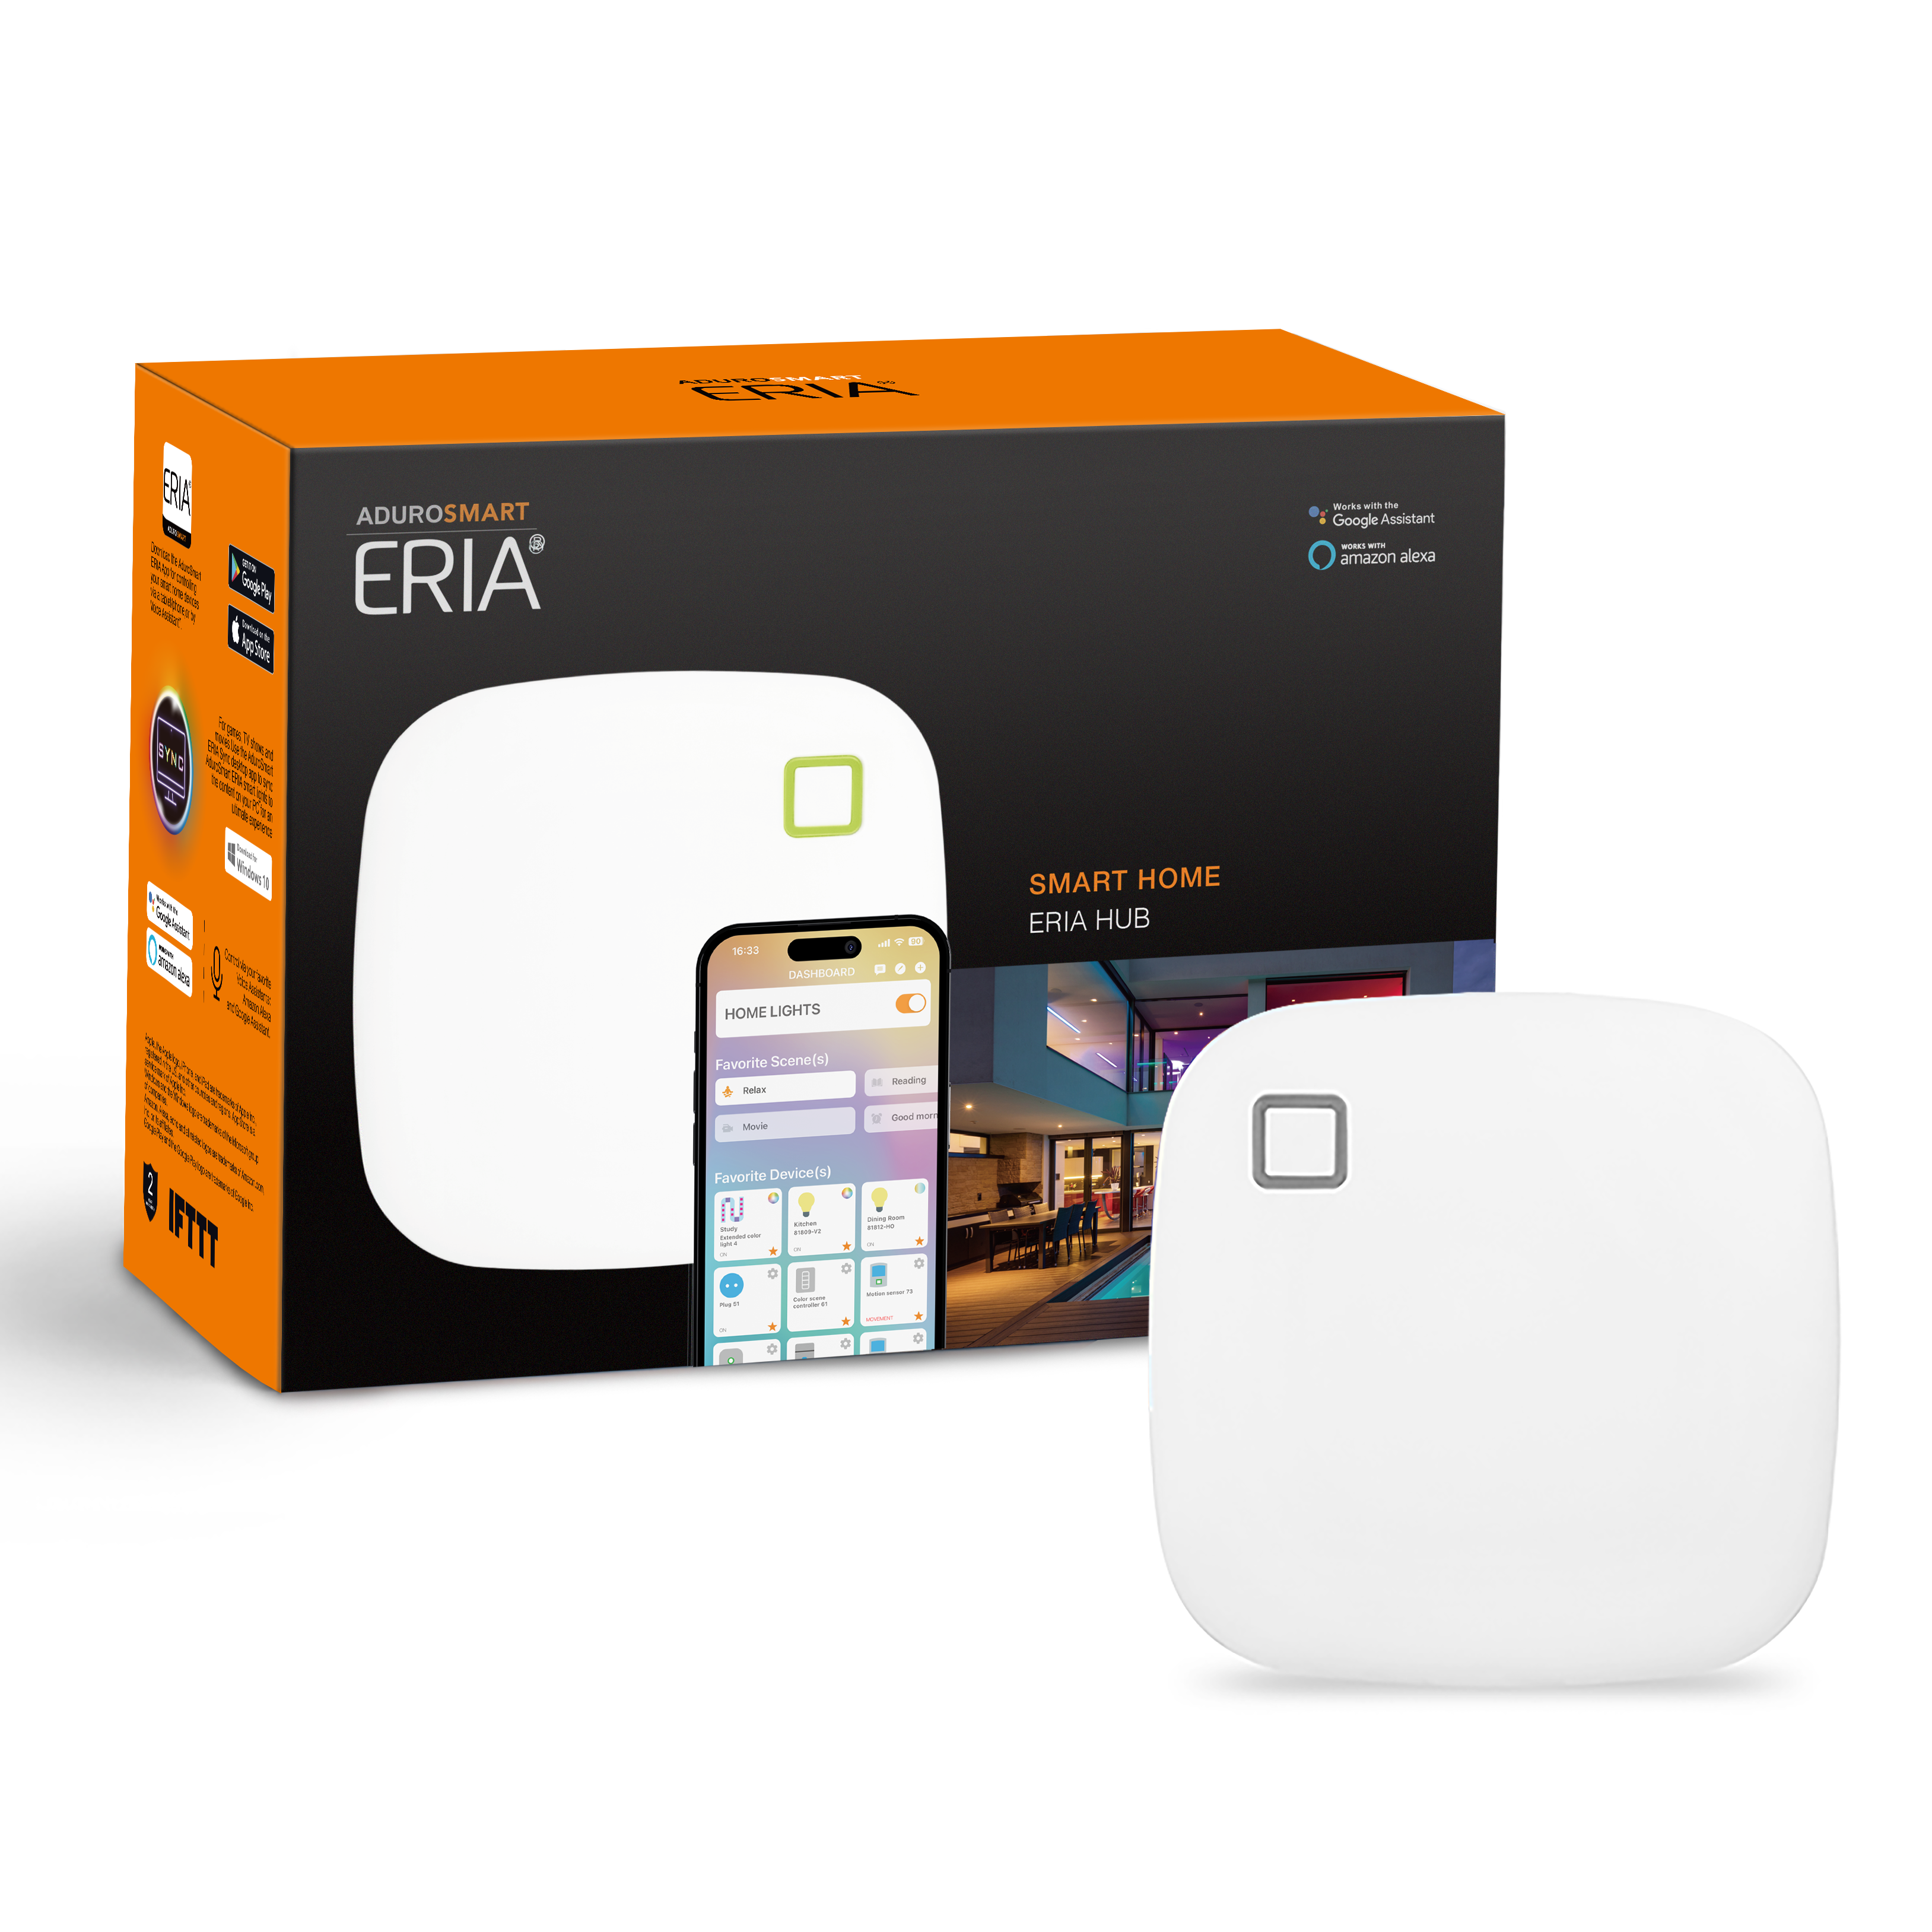
ERIA Hub
Set up your hub by first plugging it in and connecting it to your LAN network using the included cable. The LED will be solid green if connected successfully. Connect to the hub using your AduroSmart ERIA App.
See below video for more instructions:
See below video for more instructions:
On the boot screen of the ERIA app during setup in the right bottom corner tap on: “New here? Sign Up!” you will then be redirected to the account creation process.
Make sure that you pressed the “Get code” button. Code will be sent to your newly registered email address. Please check your mailbox from sender developer@adurosmart.com to find your 6-digit code.
If you do not find the code please look in your junk mail folder cause it could have accidentally been placed there by your email client.
If you do not find the code please look in your junk mail folder cause it could have accidentally been placed there by your email client.
A blue LED means that the hub has no working internet connection, please check the settings of your internet router.

If the light is blinking red, it means that the hub has not been successfully set up.
Check that the hub is connected to the router.
See below video for more instructions:
Check that the hub is connected to the router.
See below video for more instructions:
A green led indicates a that the hub is connected to the internet and your home network.
To reset your hub, simply hold down the button on top of your hub until the light turns solid red. The hub will then reset.
Make sure that you first have successfully setup the ERIA hub with its devices in the ERIA app and then follow the instructions in the below video.
See below video for more instructions:
See below video for more instructions:
Make sure that you first have successfully setup the ERIA hub with its devices in the ERIA app and then follow the instructions in the below video.
See below video for more instructions:
See below video for more instructions:
Switch on/off your lights 5 times, until the lamp flashes this indicates that the lamp is set into pairing mode, please follow the instructions in the ERIA app to initiate searching for the bulb.
See below video for more instructions:
See below video for more instructions:
When paired before with another hub make sure that your Philips HUE bulb is reset with a touchlink enabled dimming switch and switch the light on then follow the instructions in the ERIA app to initiate searching for the bulb.
To connect your Sylvania bulb to the AduroSmart Hub, first reset the bulb. You can do this by turning the bulb on for 5 seconds, and then turning it off for 5 seconds. Repeat this 5 times. After the 5th time, switch the light on and wait 10 seconds. The light will then blink to confirm that it has been reset. After it has been reset follow the instructions in the ERIA app to initiate searching for the bulb.
It seems like I am having signal issues and the connection between the hub and my smart home devices, how can I improve this ?
Make sure that you do not have any signal disturbances due to metal coated surfaces or reinforced concrete walls if this is not the case the issue could be caused by occupied Wi-Fi channels around you that overlap with your ZigBee channels, to improve your signal stability and strength, please follow below instructions:
Open the ERIA app
Tap on “Settings”, Tap on “Hub”
Tap on the “I” information symbol next to the hub, you will then be directed to the HUB settings. You will see a line called ZigBee and after it you see the channel it can be 11, 15, 20 or 25. On the bottom there is a button “Change channel”
Make sure that all your devices are powered the devices that are not powered during the channel change will be losing their connection.
If all devices are powered, then tap on “Change channel” the channel is standard set on 15 but if you are experiencing signal issues on this channel, we advise to change it to channel 25.
To change the channel tap on “Change channel” until it moves to channel 25.
First of all, make sure that you have a ZigBee device you can recognize it from the red “Z” logo on the packaging.
Then make sure that your smart home device is listed on https://newsite.adurosmart.com/product-category/works-with/
If your item is listed it means that we tested the compatibility and we can guarantee that you are able to control this smart home device with the AduroSmart ERIA hub if it’s not listed we can’t guarantee that you are able to control it but if it’s a ZigBee certified item there is a possibility that it still works.
Make sure that you set your device into pairing mode to do this follow the instructions of the smart home device that you would like to connect to the AduroSmart ERIA hub.
Initiate the device search (pairing mode) from your ERIA app. The pairing mode is indicated by a green flashing LED indicator on your ERIA hub.
Tap on Settings, then tap on Devices and + choose your device and if your smart home device is set into pairing mode the device should show up in your app.
If you are still unable to connect the device move it closer during pairing, and move it back to the desired location after pairing.
If above is still not working try and reset your smart home device and follow above steps again.
If you have paired your HUE lights before with the HUE system they are locked into that system, you would first have to reset the HUE bulbs back to factory default.
The only way resetting the HUE lightbulbs is by a HUE dimming switch through a touchlink command.
You do this by moving your HUE dimming switch closely to your HUE bulb when its turned on and press the ON and OFF button pressed it will then flash twice to confirm it has been set back to factory default.
You can now pair the HUE bulbs with any other ZigBee system as well as the ERIA system.
You can now pair them with the AduroSmart ERIA hub by initiating the search from the AduroSmart APP, and turning the HUE bulb ON.
It should then show up in your AduroSmart ERIA app.
Make sure that you first reset the Sengled bulbs back to factory default before trying to pair them with the AduroSmart ERIA hub.
To reset the Sengled bulbs to factory default follow below instructions:
1. Start with the bulb ON, quickly turn the bulb OFF and ON 10 times in quick succession (using a light switch or power strip works best)
2. The bulb will blink 5 times when it has successfully reset.
You can now pair them with the AduroSmart ERIA hub by initiating the search from the AduroSmart APP, and turning the Sengled bulb ON.
Smart Lighting
Blubs, Lamps and Light Strips
Switch on/off your lights 5 times, until the lamp flashes this indicates that the lamp is set into pairing mode, please follow the instructions in the ERIA app to initiate searching for the bulb.
See below video for more instructions:
See below video for more instructions:
Switch on/off your lights 5 times, until the lamp flashes this indicates that the lamp is set into pairing mode, please follow the instructions in the HUE app to initiate searching for the bulb.
See below video for more instructions:
See below video for more instructions:
Switch on/off your lights 5 times, until the lamp flashes this indicates that the lamp is set into pairing mode, please follow the instructions in the Alexa app to initiate searching for the bulb.
Switch on/off your lights 5 times, until the lamp flashes this indicates that the lamp is set into pairing mode, in the Samsung Smart Things add you can add our devices and can find us under the name AduroSmart ERIA from here you can initiate the device search.
Switch on/off your lights 5 times, until the lamp flashes this indicates that the lamp is reset and set into pairing mode.
Simply plug in the power to your LED strip, the strip would be automatically set into pairing mode please follow the instructions in the ERIA app to initiate searching for the strip.
Once the pairing is completed the strip will turn on a green light and it will show up in your app.
If the strip does not show up, please follow the factory reset instructions before trying again.
Make sure that you have the connector connected to the strip correct and not upside down, the arrow on the LED strip PCB should be positioned at the same side as the arrow on the connector that runs to your controller.
The strip can be connected with HUE through the ZigBee protocol and can be controlled as any other lamp either by the HUE app or by your voice through Alexa and or Google Assistant.
Simply follow the below steps: Power on your LED strip, and initiate the search for new lights from your HUE app. If the ERIA strip is found it will turn on green and it will show up in your app. If it is not found, please follow the reset procedure before trying again. Reset the ERIA strip by unplugging and re-powering the ERIA strip 5 times, it will flash 3 times to confirm that it has been set back to factory default. You can now try to pair the device again.
Simply follow the below steps: Power on your LED strip, and initiate the search for new lights from your HUE app. If the ERIA strip is found it will turn on green and it will show up in your app. If it is not found, please follow the reset procedure before trying again. Reset the ERIA strip by unplugging and re-powering the ERIA strip 5 times, it will flash 3 times to confirm that it has been set back to factory default. You can now try to pair the device again.
The ERIA strip does not work with the HUE sync feature.
The strip can be connected with SmartThings through the ZigBee protocol and can be controlled as any other lamp.
Simply follow below steps:
Power on your LED strip, and initiate the search for new lights from your SmartThings app.
If the SmartThings strip is found it will turn on green and it will show up in your app.
If it is not found, please follow the reset procedure before trying again.
Reset the SmartThings strip by unplugging and repowering the SmartThings strip 5 times, it will flash 3 times to confirm that it has been set back to factory default.
Simply plug in the power to your LED strip, the strip would be automatically set into pairing mode please follow the instructions in the HUE app to add lights and initiate the search.
Once the pairing is completed the strip will turn on a green light and it will show up in your HUE app.
If the strip does not show up, then please follow the factory reset instructions before trying again.
Once the pairing is completed the strip will turn on a green light and it will show up in your HUE app.
If the strip does not show up, then please follow the factory reset instructions before trying again.
Simply plug in the power to your LED strip, the strip would be automatically set into pairing mode please follow the instructions in the Alexa app to add lights and initiate the search.
Once the pairing is completed the strip will turn on a green light and it will show up in your Alexa app.
If the strip does not show up, then please follow the factory reset instructions before trying again.
Once the pairing is completed the strip will turn on a green light and it will show up in your Alexa app.
If the strip does not show up, then please follow the factory reset instructions before trying again.
Simply plug in the power to your LED strip, the strip would be automatically set into pairing mode please follow the instructions in the SmartThings app to add lights and initiate the search.
Once the pairing is completed the strip will turn on a green light and it will show up in your SmartThings app.
If the strip does not show up, then please follow the factory reset instructions before trying again.
Once the pairing is completed the strip will turn on a green light and it will show up in your SmartThings app.
If the strip does not show up, then please follow the factory reset instructions before trying again.
Unplug and re-plug in the power to the controller with the dc connecter 5 times, the strip will then flash 3 times to confirm that it is reset and set back to factory default.
The next time that you insert the power it will be unpaired and set into pairing mode.
The next time that you insert the power it will be unpaired and set into pairing mode.
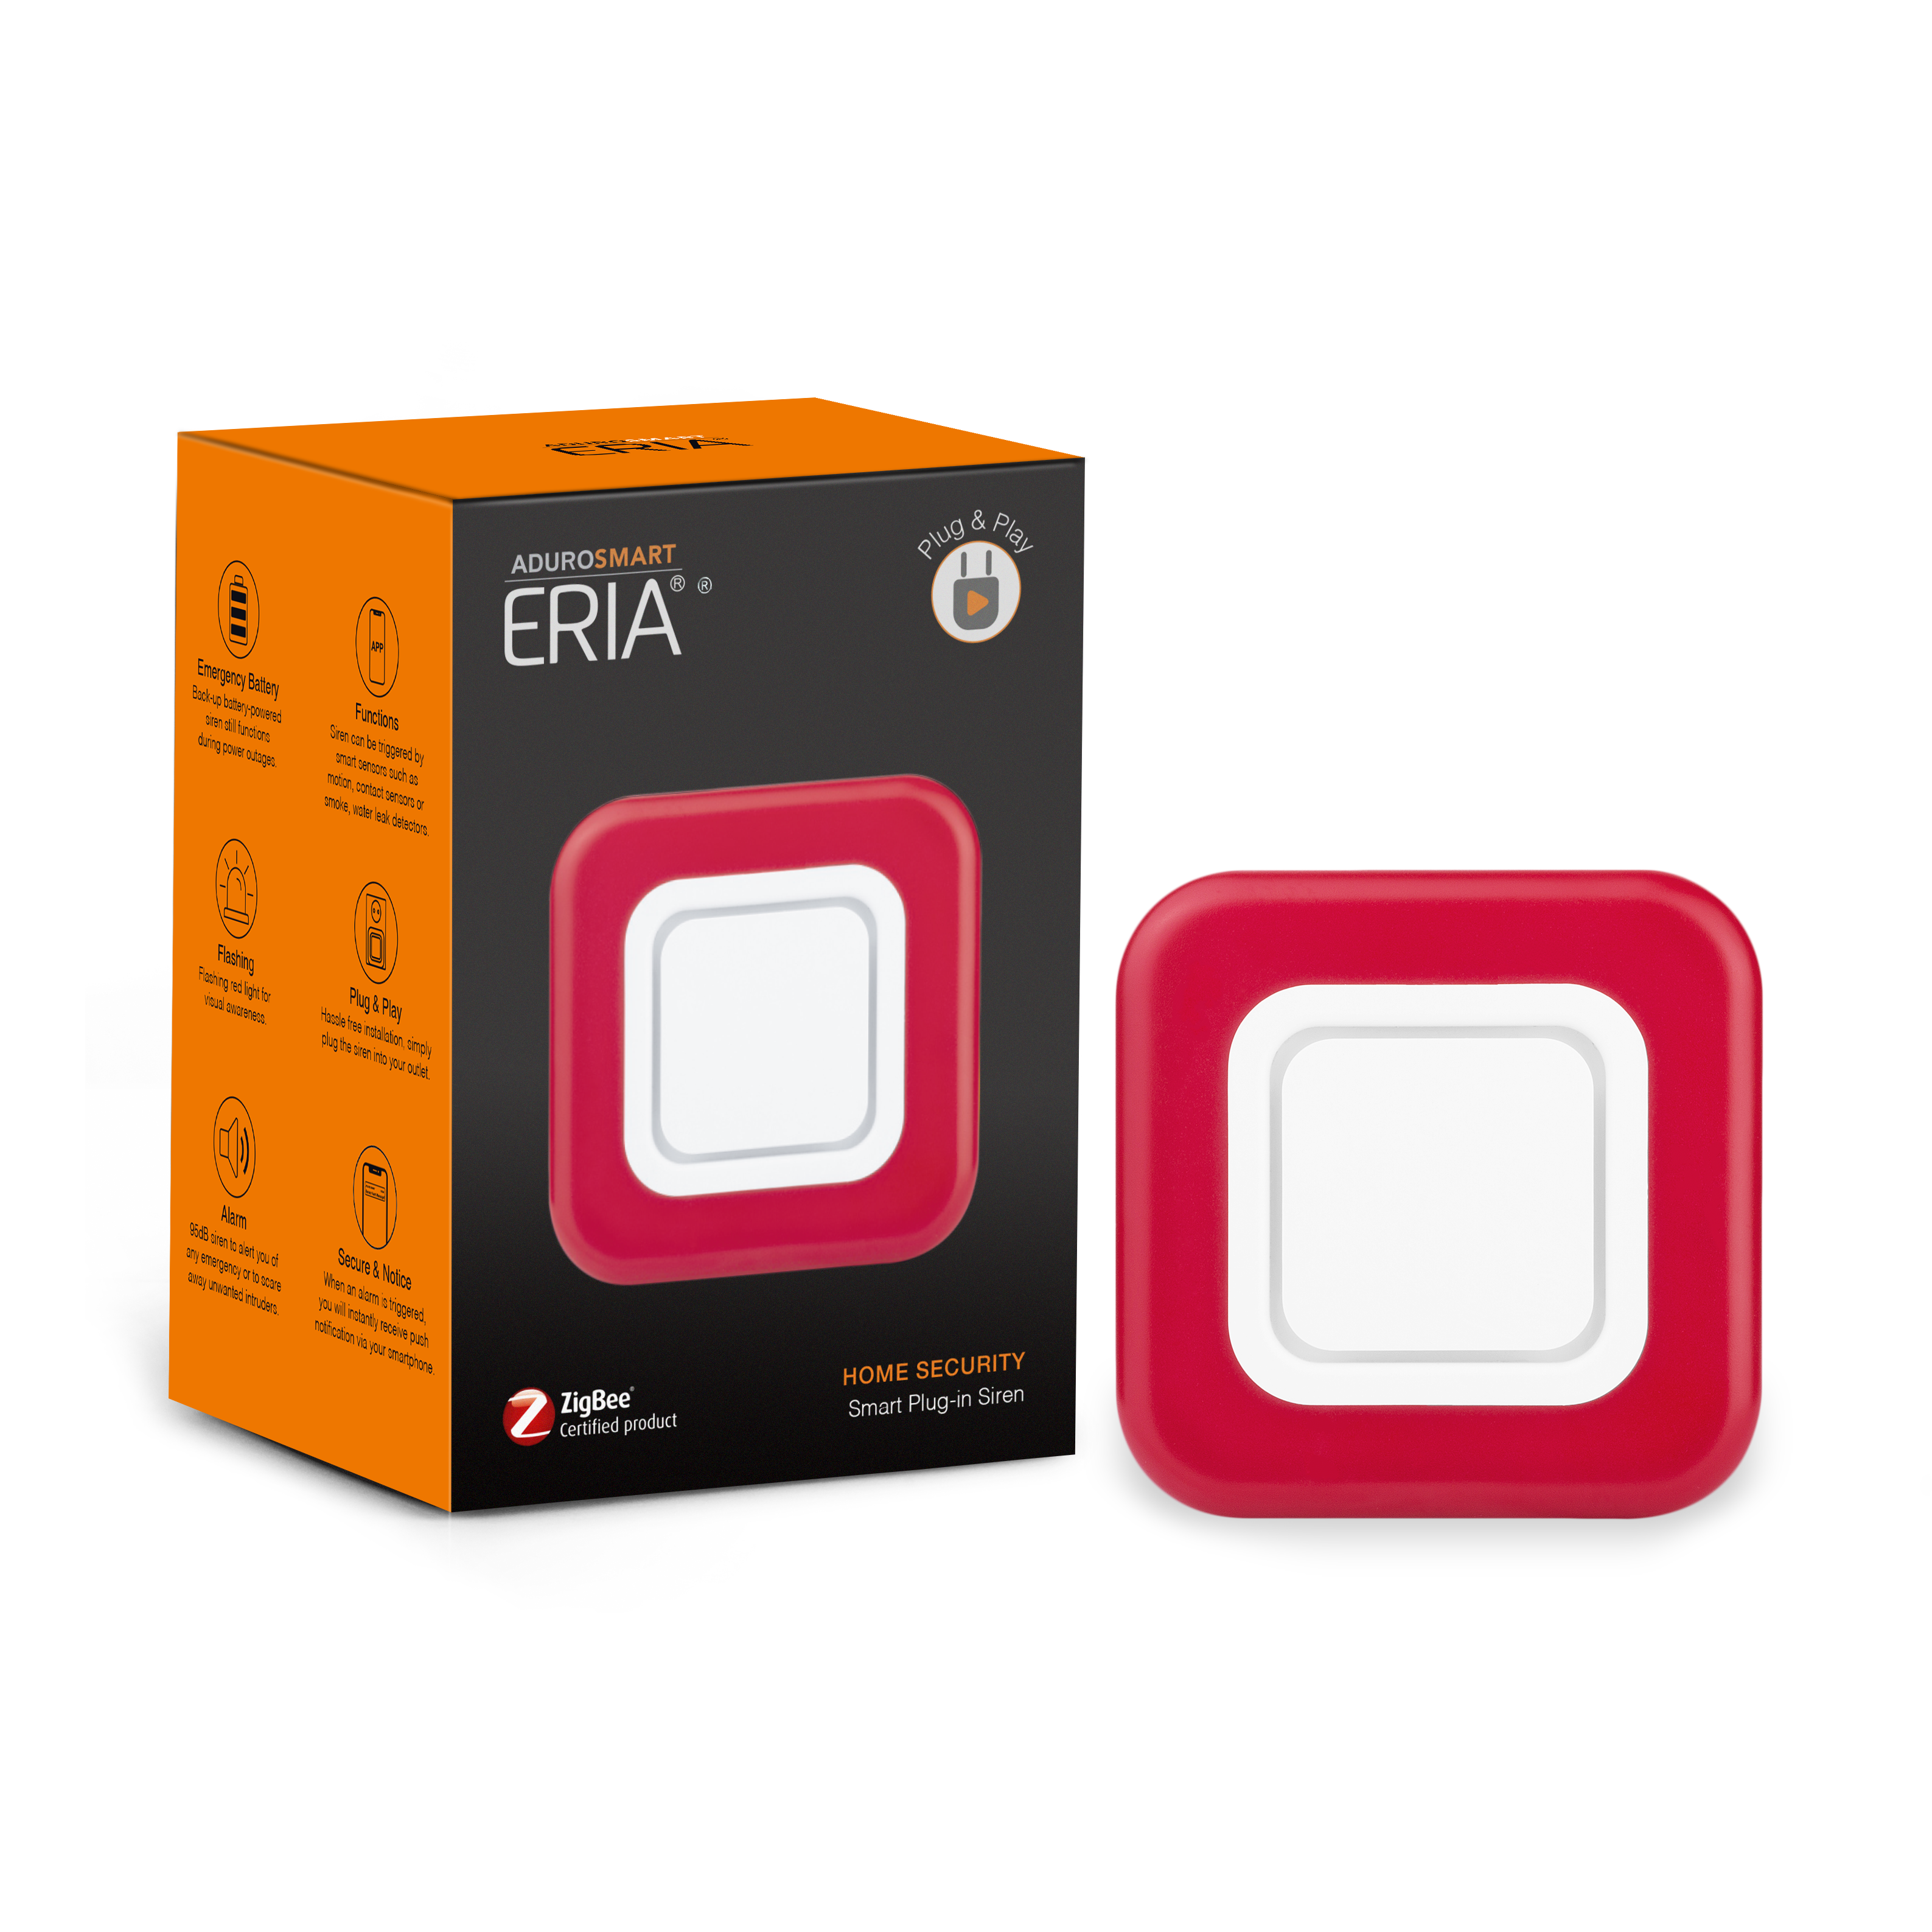
ERIA Sensors
Smoke Sensors, Motion Sensors
Use a pin to press the button behind the safety hole for 10 seconds, a reset will be confirmed by a fast blinking led indicator.
See below video for more instructions:
See below video for more instructions:
Use a pin to press the button behind the safety hole for 1 second, the sensor will blink slowly for 60 seconds to indicate that it is in pairing mode make sure that you initiate the ERIA hub search from within the ERIA app.
See below video for more instructions:
See below video for more instructions:
Use a pin to press the button behind the safety hole for 1 second, the sensor will blink slowly for 60 seconds to indicate that it is in pairing mode make sure that you initiate the device search from within the Amazon Alexa app.
Use a pin to press the button behind the safety hole for 1 second, the sensor will blink slowly for 60 seconds to indicate that it is in pairing mode make sure that you initiate the device search from within the Amazon Alexa app.
Use a pin to press the button behind the safety hole for 1 second, the sensor will blink slowly for 60 seconds to indicate that it is in pairing mode, in the Samsung Smart Things APP you can add ERIA devices and can find them under the name AduroSmart ERIA from here you can initiate the device search.
Use a pin to press the button behind the safety hole for 1 second, the sensor will blink slowly for 60 seconds to indicate that it is in pairing mode, in the Samsung Smart Things APP you can add ERIA devices and can find them under the name AduroSmart ERIA from here you can initiate the device search.
Use a pin to press the button behind the safety hole for 1 second, the sensor will blink slowly for 60 seconds to indicate that it is in pairing mode, in the Wink app search initiate searching for a generic ZigBee door window sensor.
Use a pin to press the button behind the safety hole for 10 seconds, the sensor will blink fast shortly to confirm the reset.
ERIA Remote & Switches
All types of Switches
Follow the below video instructions to add the ERIA remote / switch to your ERIA hub.
The Philips Hue system blocks our device from showing up within their app. However, the dimmer switch can still be added. It will pair, however it will not show up within the app. If the remote is paired with the bulb before being paired with the hub, it will take control of that bulb from the hub. Therefore, the remote must be paired to the hub first.
There are 2 ways to pair the remote in a way that it will allow the hub to control the bulb in tandem with the remote.
The first way is to pair the remote directly to the hub using the Philips Hue app. To do so, make sure the bulb is already paired to the app before continuing.
Under “settings” within the Philips Hue app, select “Accessory Setup”. Select “add accessory” at the bottom and select “Hue Dimmer Switch”. From the two options that it offers you, make sure to select option 1. Then select the green “LED blinking” option on the bottom. Reset the remote by holding down the two middle (arrow) buttons, if reset successfully the LED on the remote should blink once. Then pair the remote to the hub by placing it in proximity to the hub whilst the hub is searching and holding down the off (circle) button for 10 seconds until it blinks green 3 times. If it does, then the remote is paired to the hub even if it does not show up within the app. The remote can then be touch linked to the bulbs it will control without stealing control of them.
Additionally, the remote can also be touch linked to the hub to pair it, and then touch linked to the bulbs similar to the above steps. Either one of these should work.
To reset your dimmer switch, hold down the two middle buttons until the light flashes green. A red flash indicates an unsuccessful reset.
ERIA App
Help will be available soon!
After logging in, go to the Settings page and select Hub to enter the secondary page. Wait for the app thttps://newsite.adurosmart.com/support/ search for nearby gateways. Once a gateway is found, click it to scan the QR code for pairing. Upon successful pairing, a success message will appear, and the network indicator in the gateway list will turn green. Return to the homepage, click the menu button in the top-right corner, and select “Add New Device”. Choose the device type, brand, and category, then follow the instructions to complete the pairing using “Search”, “Scan”, or “Install Code” methods.
Check if the device is powered on and ensure the network (e.g., Wi-Fi name or password) has not changed. Check the gateway indicator light:
• Red light (steady): Restart the network or reconnect the gateway to power.
• Blue light (steady): WAN is down; contact your broadband provider.
• Red light (steady): Restart the network or reconnect the gateway to power.
• Blue light (steady): WAN is down; contact your broadband provider.
To create: After logging in, go to the Automations page, click the menu, and add the desired automation task. Configure the task, then click “Next”, assign devices or scenes to execute it, and click “Done”. To delete: On Android, long-press the automation task; on iOS, go to Settings > Automations, and swipe left to delete.
After logging in, if devices are in the homepage’s favorite list, click them to control. Alternatively, go to the Settings page, enter the device details, and mark them as favorites for quick access. If devices are in a Room, enter the room to control them. If not, add them by clicking the “+” button in the room.
• Android: Click to enter room details.
• Android: Click to enter room details.
• iOS: Long-press to enter room details.
After logging in, navigate to Settings > Hub/Device, select the device, and click “Version” to check and update the firmware.
Family members can control devices by connecting to the same gateway (Hub).
Yes.
• Amazon Alexa: Log in to the ERIA App, go to Settings > Voice Assistant, select Amazon Echo, click “Setup Alexa with ERIA”, and link your Amazon account. Devices will sync automatically.
• Google Assistant: Download Google Home, navigate to settings, search for AduroSmart ERIA, and link your account by entering your credentials.
• Apple HomeKit: (iOS not supported yet) On Android, log in to the ERIA App, go to Settings > Matter Bridge, generate a pairing code, and add the device in HomeKit using ”+” > Enter Code with the Matter Bridge code.
For timers: Log in, go to the Automations page, select a time-related task, set the time under the “When” field, and click “Next” and “Done”. For schedules: Select a schedule-related task, configure it, then click “Next” and “Done”.
Log in and go to Settings:
• Option 1: Click Notifications to manage device notifications.
• Option 2: Click Devices, enter the device details, and enable notifications.
• Option 3: From the homepage, select a device, enter its page, and enable notifications.
• Option 1: Click Notifications to manage device notifications.
• Option 2: Click Devices, enter the device details, and enable notifications.
• Option 3: From the homepage, select a device, enter its page, and enable notifications.
Check your network connection. If the network is fine, restart the app. If the issue persists, update the app via the App Store or Google Play. If further assistance is needed, contact customer support:
• In-App: Go to Settings > About & Feedback > Feedback to leave a message.
• Website: AduroSmart Support.
• Website: AduroSmart Support.
• Phone: +1-424-363-3420.
• In-App: Go to Settings > About & Feedback > Feedback to leave a message.
• Website: AduroSmart Support.
• Website: AduroSmart Support.
• Phone: +1-424-363-3420.
Voice Assistants
Google Assistant, Amazon Alexa, Apple Siri
Make sure that you first have successfully setup the ERIA hub with its devices in the ERIA app and then follow the instructions in the below video.
Make sure that you first have successfully setup the ERIA hub with its devices in the ERIA app and then follow the instructions in the below video.
Yes, ERIA devices using both Zigbee and Matter protocols can be controlled via Apple HomePod (Siri).
• Matter devices can connect directly to HomePod.
• Zigbee devices require an ERIA Hub (gateway) to bridge the connection to HomePod.
• Matter devices can connect directly to HomePod.
• Zigbee devices require an ERIA Hub (gateway) to bridge the connection to HomePod.
Which protocols are supported by the ERIA Multi-Protocol Hub for voice control via Apple HomePod (Siri)?
The ERIA Multi-Protocol Hub supports Zigbee, Matter, and Z-Wave protocols. Devices using these protocols can be bridged to HomePod for voice control via Siri.
However, not all devices are compatible with HomePod. For instance:
• Some devices, such as the ERIA Zigbee Remote and ERIA Smoke Detector, are not supported by HomePod even when bridged.
• The ERIA Zigbee Hub only supports Zigbee devices and does not provide bridging functionality for other protocols, so it cannot connect non-Zigbee devices to HomePod.
• Some devices, such as the ERIA Zigbee Remote and ERIA Smoke Detector, are not supported by HomePod even when bridged.
• The ERIA Zigbee Hub only supports Zigbee devices and does not provide bridging functionality for other protocols, so it cannot connect non-Zigbee devices to HomePod.
Steps to connect ERIA devices to Apple HomePod:
1. Open the AduroSmart ERIA app, navigate to Settings, and enable Matter Bridge to display the pairing code.
2. Open the Apple HomeKit app (pre-installed on iPhone).
• In the Home app, tap the “+” symbol in the top-right corner.
• Select Add Accessory → More Options → My Accessory Isn’t Shown Here → Enter Code.
3. Enter the pairing code displayed in the ERIA app to complete the connection.
ERIA Mobile App : How to do videos
iPhone, iPad, Android & Tablets
How do I create scenes ?
How do I add timers ?
How do I create automations ?
Setting contact sensors to monitor your home
Setting up motion sensors to monitor your home
Contact Us
support@adurosmart.com
Phone
424 363 3420